Star webPRNT User's Manual
How to use Star Micronics Cloud (iOS) -Star webPRNT Browser -
Star Micronics Cloud enables you to upload data to be printed by the Star webPRNT Browser (iOS/Android) to the Star Micronics Cloud and you can refer to uploaded receipt data by using the AllReceipts app.
- To use Star Micronics Cloud, you are required to register your Star Micronics Cloud account in advance. You can complete your registration from the following web site.
Star Micronics Cloud (www.starmicronicscloud.com)
- Check if the device you are using is connected to the internet. A network connection is required to use Star Micronics Cloud. Depending on the connection state, a printed receipt sometimes cannot be uploaded on the Star Micronics Cloud even though it is provided with a QR code.
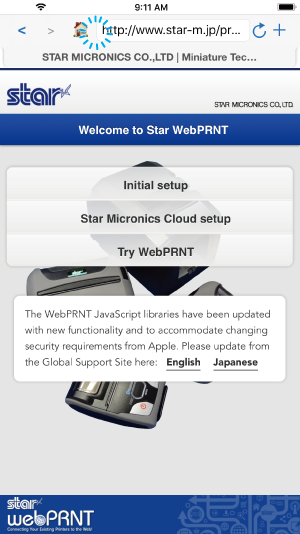
- Follow the steps of “How to use -Star webPRNT Browser- “on the following web site and try printing.
How to use -Star webPRNT Browser -
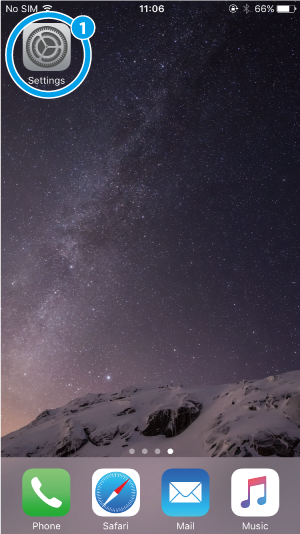
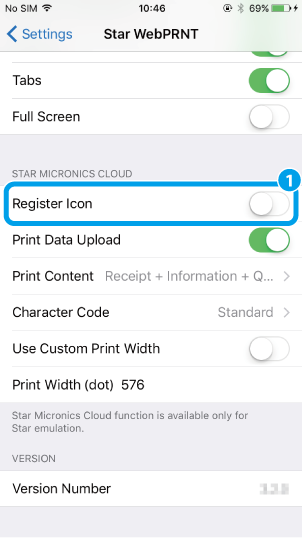
- Show the Star Micronics Cloud icon.
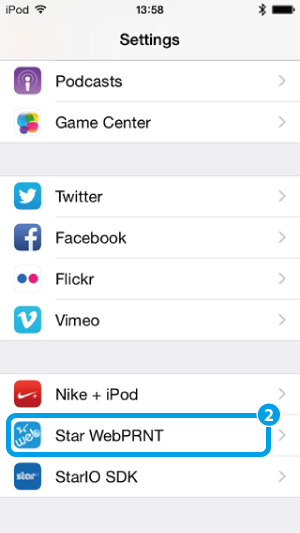
Open Settings > Star webPRNT
 ,
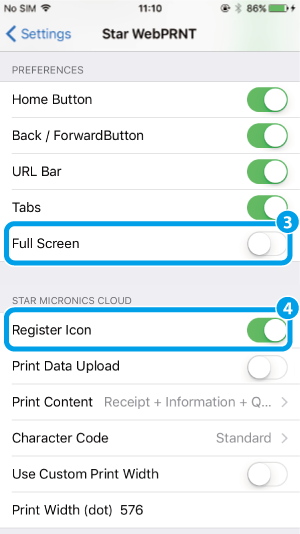
"Full Screen"
,
"Full Screen" to OFF and
"Register Icon"
to OFF and
"Register Icon" to ON.
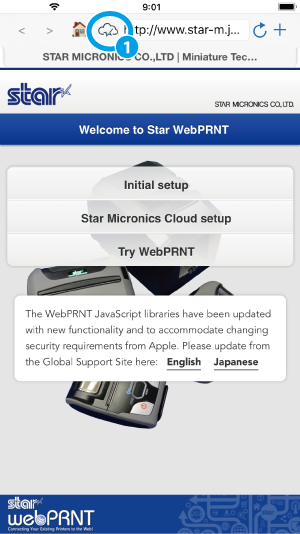
 - Log in to Star Micronics Cloud and register a device.
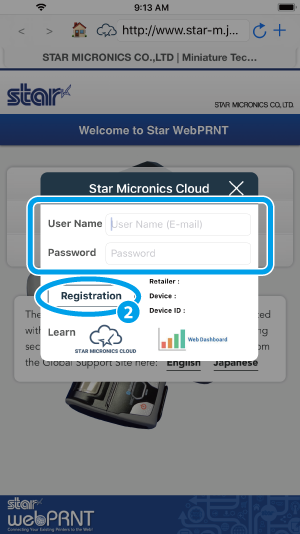
Tap the Star Micronics Cloud icon on the Star webPRNT Browser to display a registration dialog.
Enter your username and password and tap “Registration”.
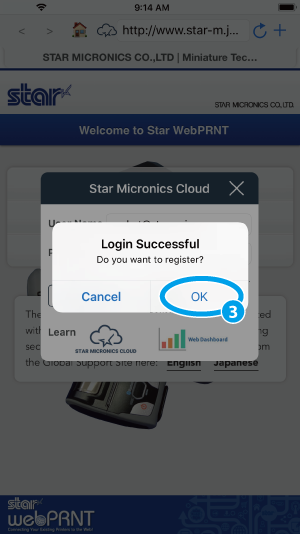
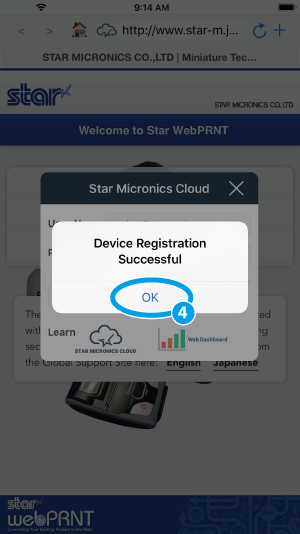
After logging in successfully, register a device.
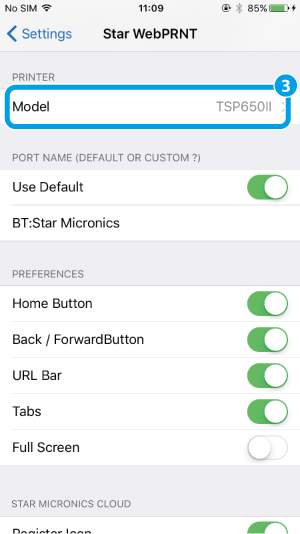
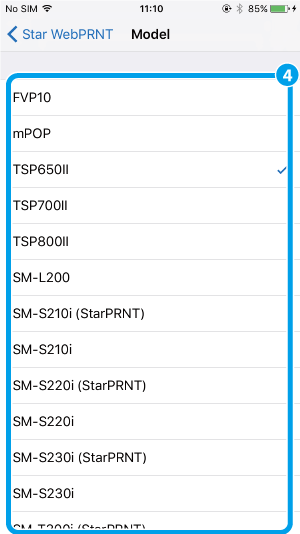
Then check the printer model and configure receipt upload settings. - Select the printer model.
Open Settings > Star webPRNT > Model, select the printer model.
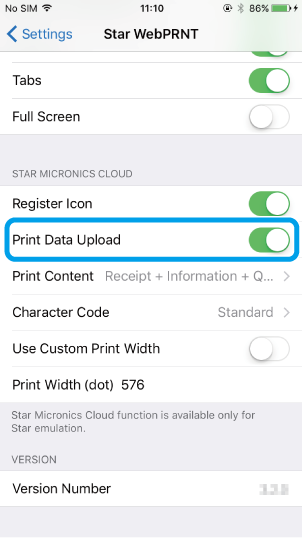
When using SM-S or SM-T series, please select StarPRNT emulation. ESC/POS emulation does not support Star Micronics Cloud. - Set whether receipt data should be uploaded or not.
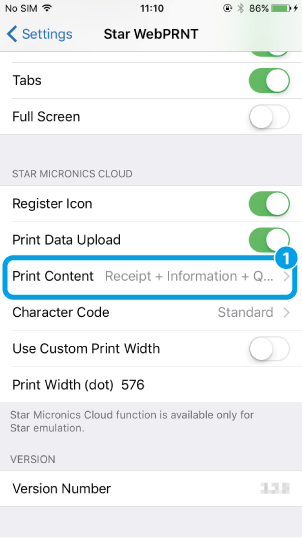
When “Print Data Upload” is set to ON, a QR code will be applied on a printed receipt and print data will be uploaded to the Star Micronics Cloud. - Set a print content to be printed by the Star webPRNT Browser.
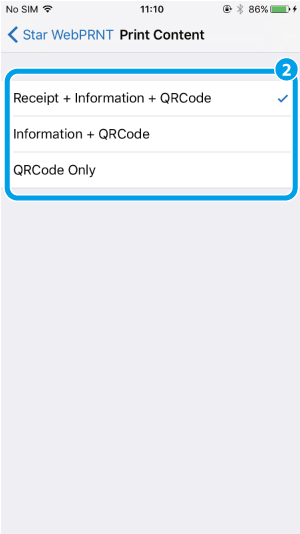
- Receipt + Information + QRCode
- prints receipt data, information logo and a QR code.
- Information + QRCode
- prints information logo and a QR code.
- QRCode Only
- prints a QR code only.
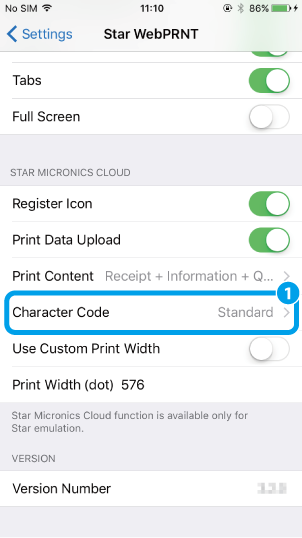
- Set a character code of receipt data to be uploaded.
- Standard
- for upload in English, French, Portuguese, Spanish or German.
- Japanese
- for upload in Japanese
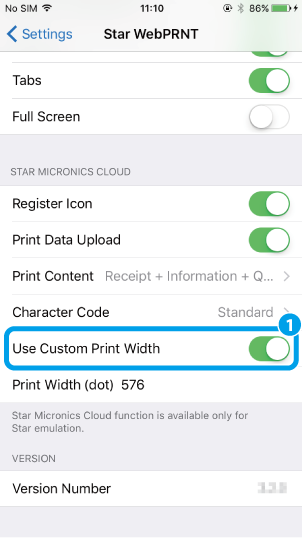
- Set the print width of the printer, if necessary.
It is not necessary to change the print width normally, which is automatically set to the default value when you select a printer model. When using the default print width setting, set “Use Custom Print Width” to OFF. (Default: OFF)
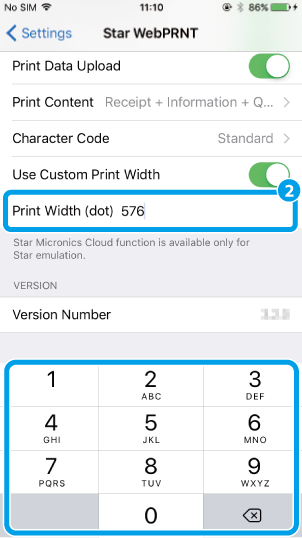
If you have changed the print width of the printer, set “Use Custom Print Width” to ON
and enter the print width value (dot).
Different print width settings may cause a failure of uploaded receipt data.
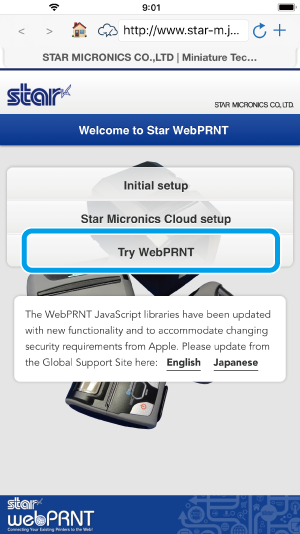
- Return to the Star webPRNT Browser App and tap “Try Star webPRNT” to print a sample receipt.
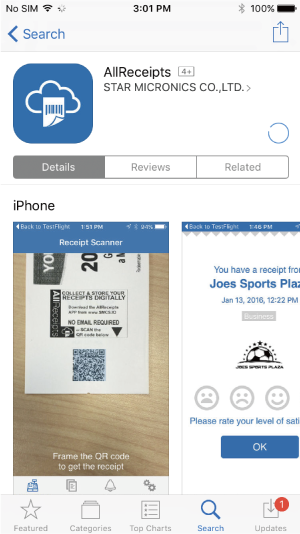
- Install the “AllReceipts” from AppStore.
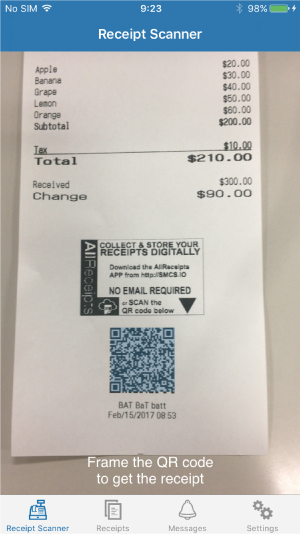
- Scan a QR code on the receipt by the AllReceipts app and refer to the uploaded receipt data.
- You can set if the register icon to open the device registration dialog for Star Micronics Cloud should be displayed or not.
If the register icon is unnecessary, you can hide it by setting Register Icon to OFF.
Your device registration will not be cancelled by hiding the icon.