Connect USB Cable
Connect the USB cable to carry out communication between the printer and host device via the USB port.
There are some restrictions related to simultaneously connecting multiple devices to a single printer. Make appropriate connections to suit your environment.
Precautions for Using Multi-interface
For information about how to connect USB external devices, refer to Set Up External Devices.
The connection method varies depending on the operating system of the PC, smartphone, or tablet you want to use.
Refer to the information appropriate to the usage environment.
Windows
iOS <MCP21LB, MCP21LBNH model>
Android
Windows
When printing from a Windows PC or tablet, follow the steps below to make a connection.
1. Prepare a USB cable
- When using a PC, prepare a USB cable (A-B) to connect the printer. When using a tablet, prepare a USB cable that matches the connector shape of the tablet.
- PC
- Tablet
 | Printer-side plug | USB-B |
 | Device-side plug | USB-A or the product based on the standard that matches the device you use |
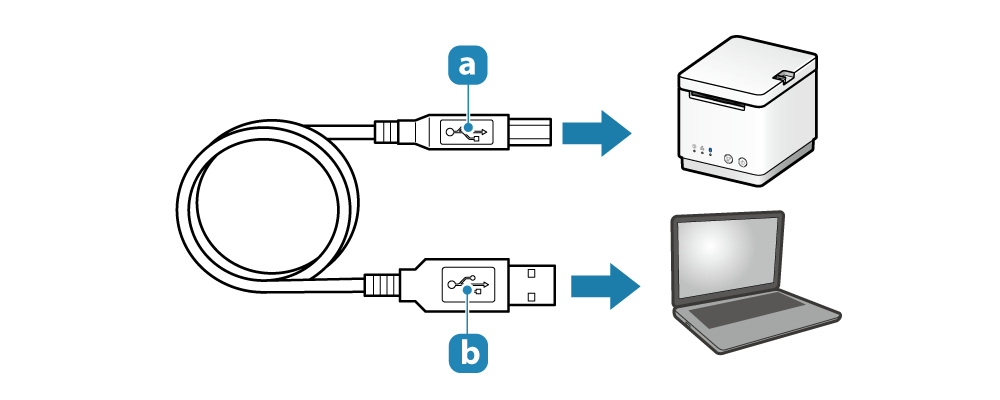
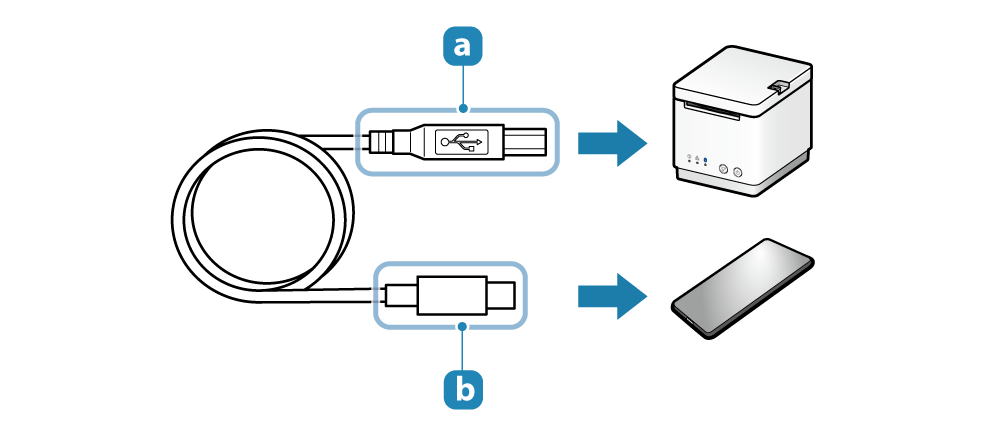
2. Connect the USB cable to the printer
- Connect the USB cable to the USB-B port of the printer.
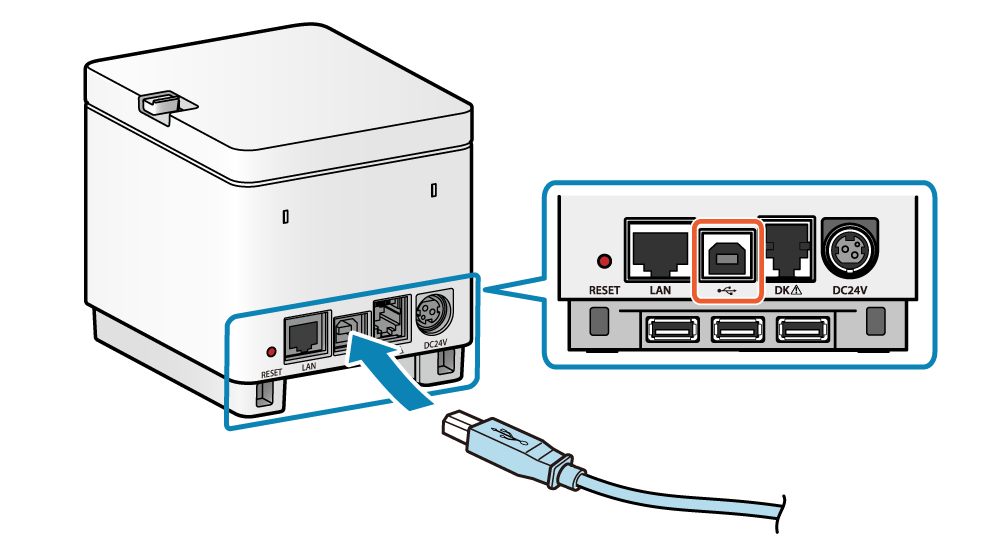
Example: MCP21LB
3. Connect the USB cable to the PC or tablet
- Connect another plug to the PC or tablet.

Note
iOS <MCP21LB, MCP21LBNH>
When connecting an iPad, iPhone, or iPod touch for printing or power supply (maximum 2.4A), follow the steps below to make a connection.
Caution
1. Prepare a USB cable
- Use a USB cable that is available commercially or that came with the smartphone or tablet.
| Printer-side plug | USB-A |
| Device-side plug | Lightning or USB-C |
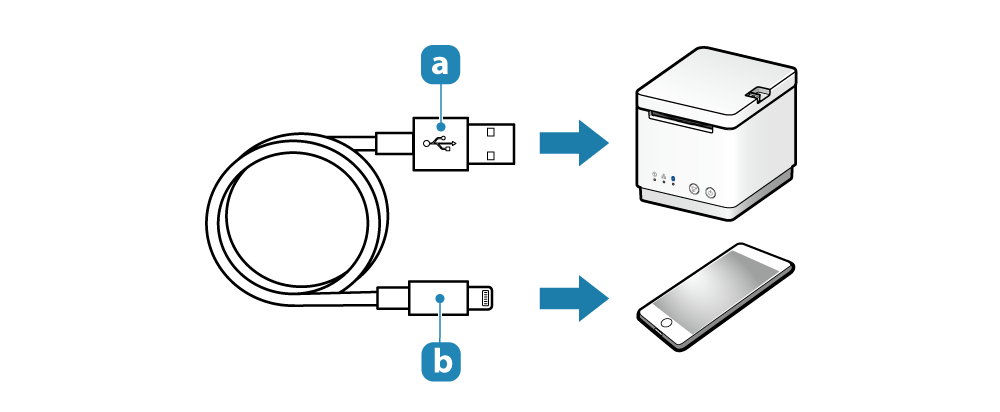
2. Connect the USB cable to the printer
- Connect the USB cable to the USB port (2.4A) of the printer.
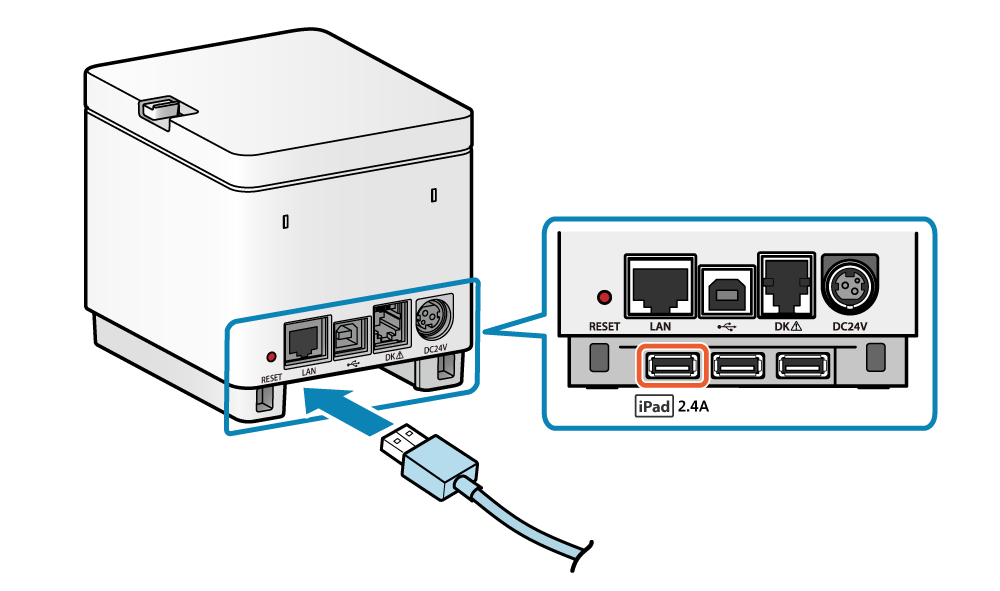
Example: MCP21LB
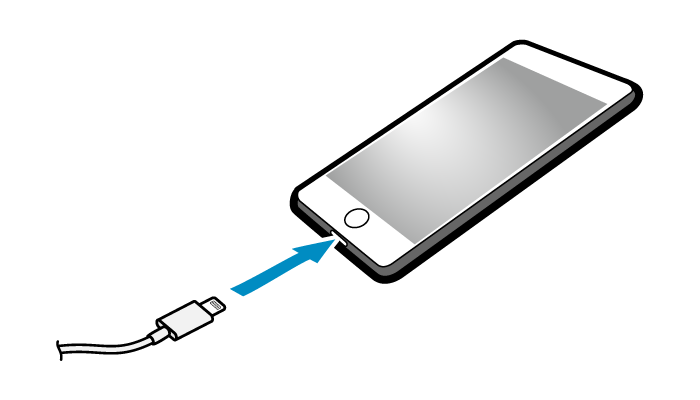
3. Connect the USB cable to the smartphone or tablet
- Connect another plug to the smartphone or tablet.
Android
When printing from the Android tablet or smartphone, follow the steps below to make a connection.
Caution
When performing USB communication with a device equipped with USB micro-B, it is necessary to use a USB adapter.
Some devices may not support the use of a USB adapter. Be sure to perform full operation checks in advance before using.
1. Prepare a USB cable and USB conversion adapter
- Prepare a USB cable and USB conversion adapter that matches the connector shape of the smartphone or tablet you are using.
| Printer-side plug | USB-B |
| Device-side plug | Product based on the standard that matches the device you use |
 | USB conversion adapter | Prepare the appropriate one as needed. |
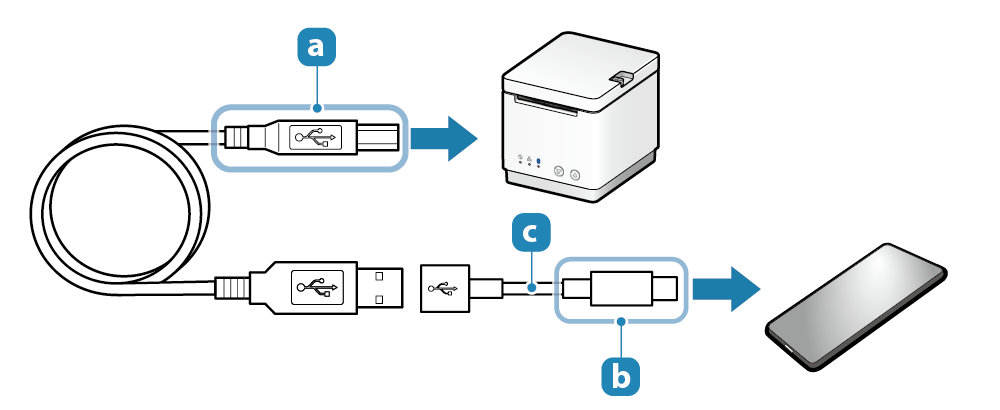
2. Connect the USB cable to the printer
- Connect the USB cable to the USB-B port of the printer.
Example: MCP21LB
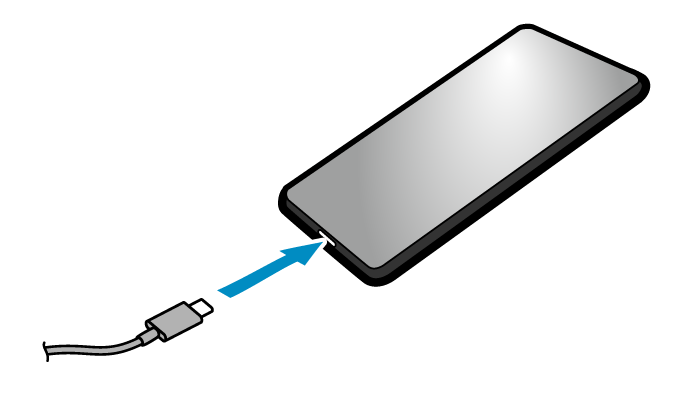
3. Connect the USB cable to the smartphone or tablet
- Connect another plug to the smartphone or tablet.
Note